
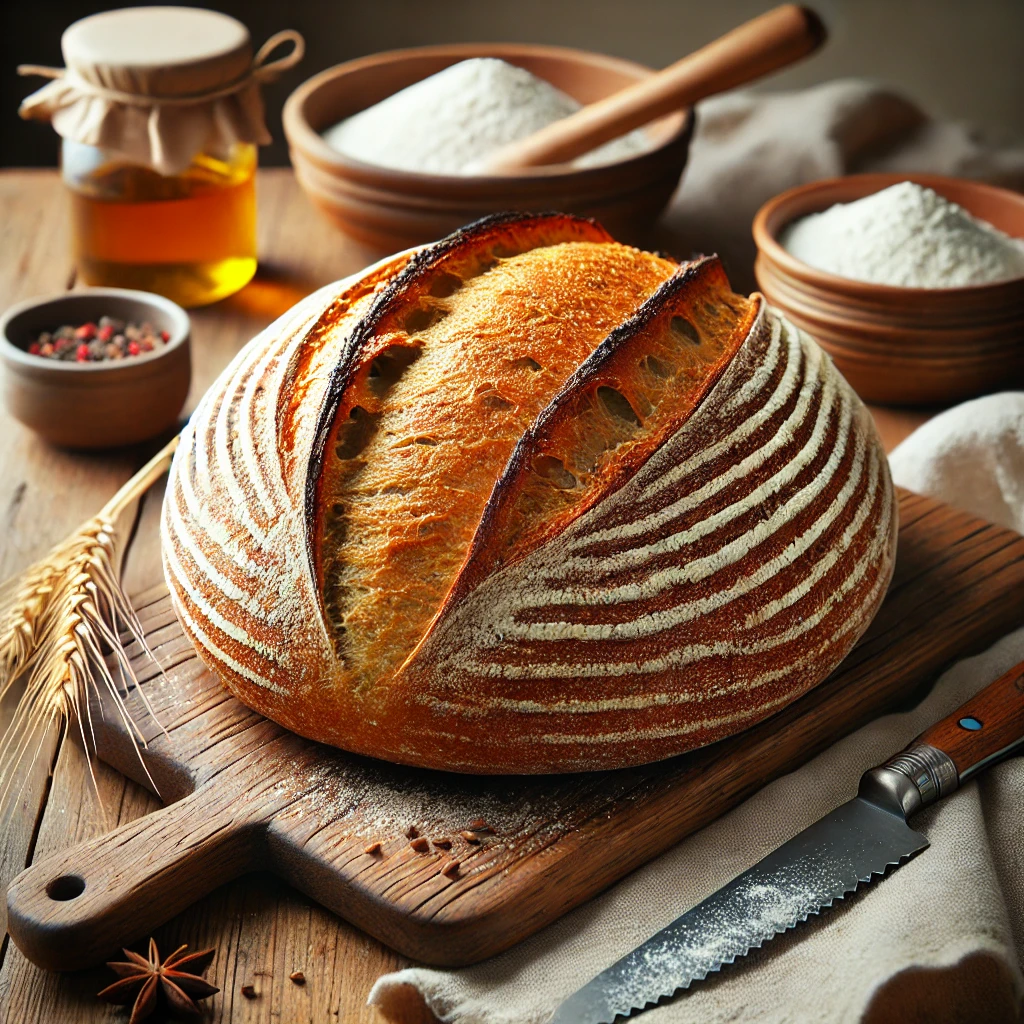
Baking sourdough bread is an art that combines precision, patience, and practice. Unlike other bread-making processes, sourdough relies on natural fermentation, creating a distinct tangy flavor, airy crumb, and crispy crust. But with so many methods out there, you may wonder: What is the best method for baking sourdough?
In this guide, we’ll explore step-by-step techniques, tools, and tips to ensure your sourdough bakes to perfection every time.
The Fundamentals of Baking Sourdough
Before diving into methods, let’s cover the basics:
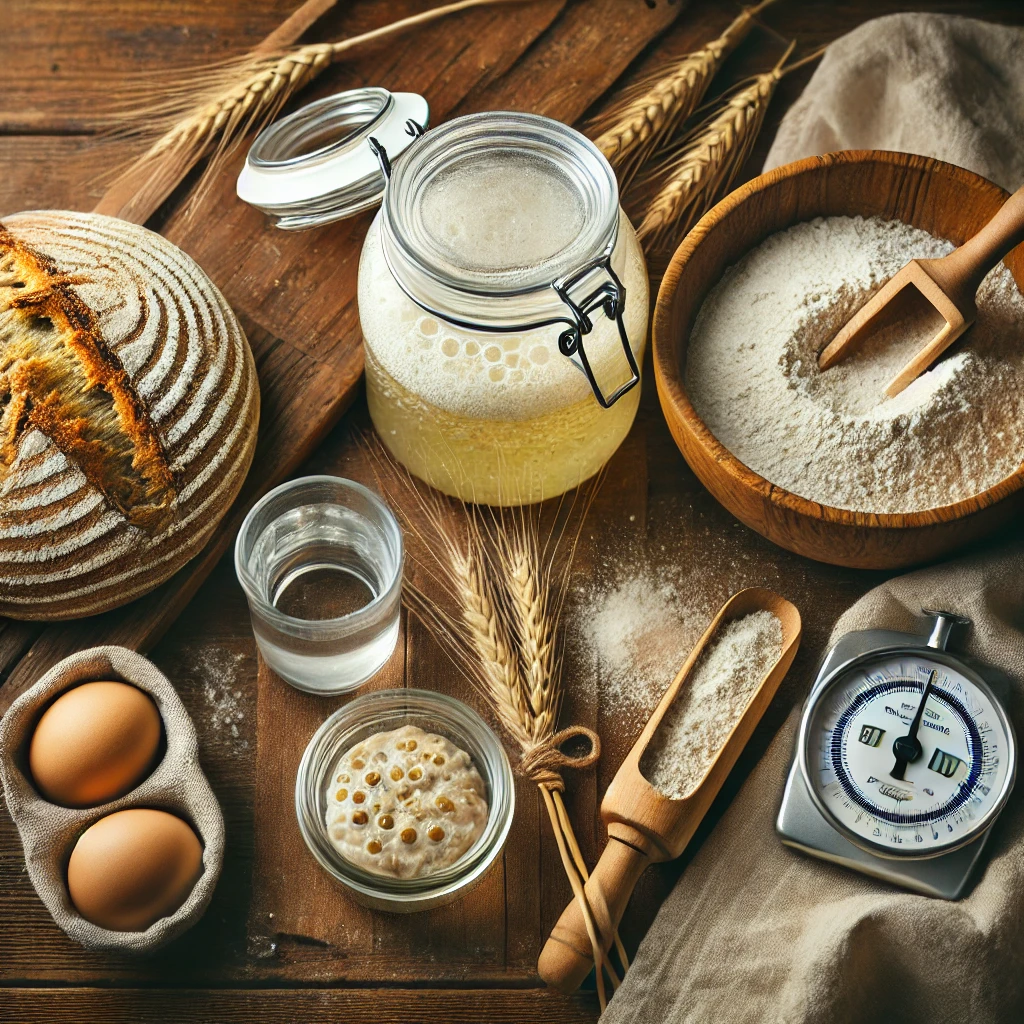
- Sourdough Starter: This is the heart of sourdough baking. It’s a mixture of flour and water that has been naturally fermented by wild yeast and lactic acid bacteria. The starter acts as the leavening agent, replacing commercial yeast.
- Flour and Hydration: Choosing high-quality flour, often a mix of bread flour and whole wheat, ensures a robust flavor. Hydration levels (the water-to-flour ratio) impact the dough’s texture and crumb structure.
- Time and Fermentation: Sourdough thrives on slow fermentation, which enhances flavor and digestibility.
- Temperature: Controlling dough and baking temperatures is key to achieving the ideal rise, crust, and crumb.
Step-by-Step Method for Baking the Perfect Sourdough
1. Feed Your Starter
Begin by feeding your starter 4–6 hours before baking. The ratio of flour, water, and starter should ensure it becomes bubbly and active.
- Tip: Use equal parts water and flour by weight (e.g., 50g flour and 50g water) to maintain a balanced starter.
2. Mix the Dough
Combine your active sourdough starter with flour, water, and salt. This is where you decide your dough’s hydration level. For beginners, a hydration level of 70–75% is ideal.
- Example Recipe:
- 500g flour
- 350g water (70% hydration)
- 100g active starter
- 10g salt
- Tip: Mix the dough until all ingredients are incorporated. Let it rest for 30 minutes to an hour (autolyse process) before adding salt for better gluten development.
3. Knead or Stretch and Fold
Instead of traditional kneading, sourdough often benefits from stretch and fold techniques. This gentle method develops gluten without overworking the dough.
- Every 30 minutes, stretch one side of the dough upward and fold it over the opposite side. Repeat for all sides.
- Perform 4–6 rounds of stretches over 2–3 hours.
4. Bulk Fermentation
Bulk fermentation is when your dough rests and rises. This phase is crucial for developing flavor and structure.
- Ideal Time: 4–6 hours at room temperature. If your kitchen is warm, it may take less time.
- Test: The dough should double in size and feel airy but not collapse.
5. Shaping
After bulk fermentation, gently remove the dough onto a floured surface. Pre-shape the dough into a round or oval shape and let it rest for 20–30 minutes. Then, perform the final shaping.
- Tip: Use a bench scraper for clean shaping and avoid deflating the dough.
6. Cold Proofing
Proofing is the final rise before baking. While you can proof at room temperature, cold proofing in the refrigerator overnight (8–12 hours) offers better flavor and makes the dough easier to handle.
- Place the dough in a banneton or bowl lined with a floured towel to maintain its shape.
7. Preheat the Oven and Dutch Oven
Preheat your oven to 450°F (230°C) with a Dutch oven inside for at least 30 minutes. The Dutch oven traps steam, crucial for creating a crispy crust.
- Tip: If you don’t have a Dutch oven, place a tray of water on the oven’s bottom rack to generate steam.
8. Scoring
Turn your dough onto parchment paper and score it using a bread lame or sharp knife. Scoring helps control how the bread expands during baking.
- Popular Patterns: A single slash, leaf designs, or intricate patterns.
9. Bake
Place your dough (on the parchment paper) into the preheated Dutch oven.
- Baking Stages:
- Bake with the lid on for 20–25 minutes (steam phase).
- Remove the lid and bake for another 20–25 minutes to develop a golden, crackly crust.
- Internal Temperature: The bread is done when it reaches 200–205°F (93–96°C).
10. Cool and Rest
Let your sourdough cool completely on a wire rack for at least 1 hour before slicing. This allows the crumb to set and prevents a gummy texture.
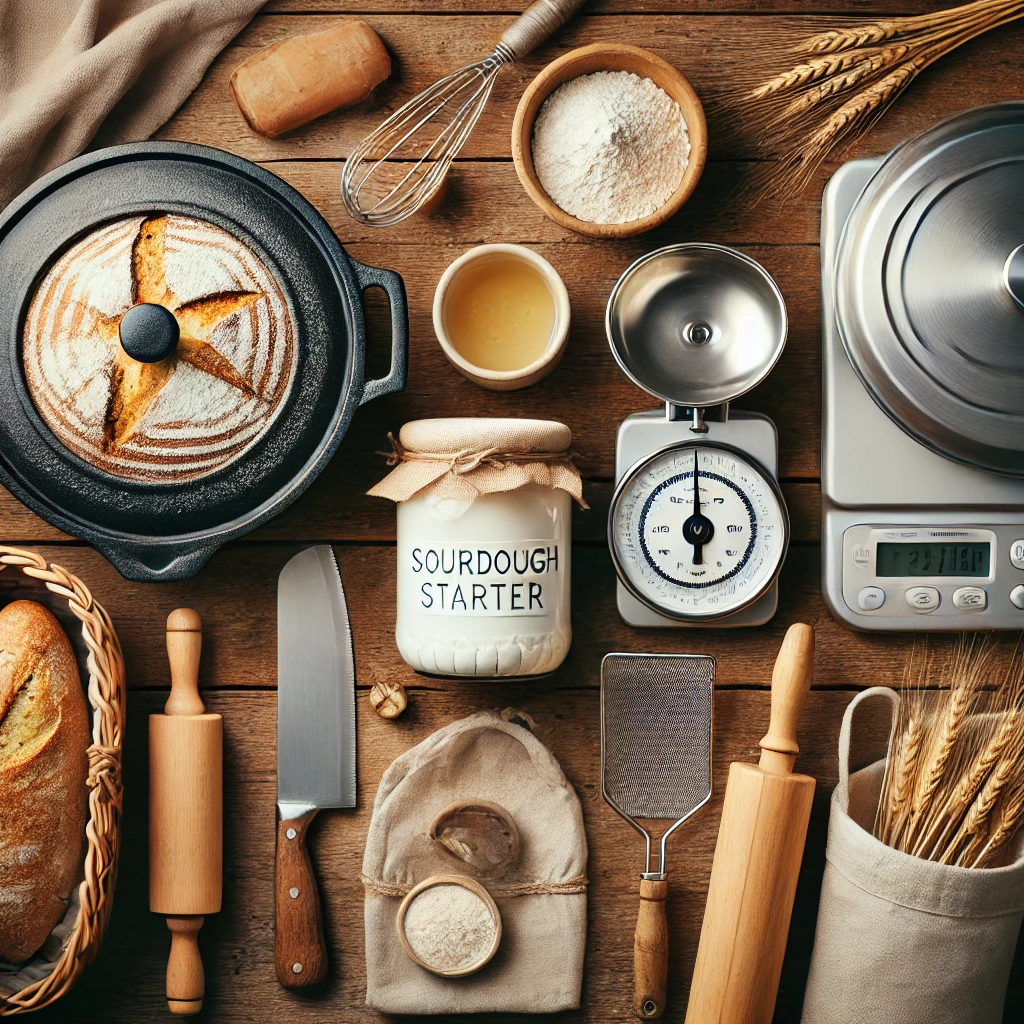
Essential Tools for Baking Sourdough
- Kitchen Scale: Precise measurements are crucial for consistency.
- Banneton: Helps shape and support the dough during proofing.
- Dutch Oven: Creates steam and ensures even baking.
- Bread Lame: For scoring beautiful designs.
- Bench Scraper: Handy for shaping and handling dough.
- Thermometer: Ensures your bread is fully baked.
Common Mistakes to Avoid
- Underproofing or Overproofing: Learn to judge proofing by gently poking the dough. A well-proofed dough will spring back slowly.
- Skipping the Autolyse: This step improves gluten structure and makes the dough easier to handle.
- Insufficient Steam: Steam is crucial for an open crumb and crispy crust.
- Rushing the Process: Sourdough is all about patience. Fermentation times vary with temperature and dough hydration.
- Cutting Too Soon: Allow your bread to cool fully before slicing to avoid a gummy interior.
FAQs About Baking Sourdough
- What makes sourdough different from regular bread?
Sourdough uses natural fermentation with wild yeast, creating a tangy flavor, chewy crumb, and better digestibility. - Can I bake sourdough without a Dutch oven?
Yes! Use a pizza stone with a tray of water for steam or a covered baking pan. - Why is my sourdough dense?
It’s often due to underproofing, insufficient gluten development, or low hydration levels. - Can I freeze sourdough bread?
Absolutely! Wrap it tightly in plastic wrap and store it in the freezer for up to 3 months. - How do I maintain my sourdough starter?
Feed it regularly with equal parts flour and water, storing it in the fridge if baking less frequently. - What hydration level is best for beginners?
Start with 70–75% hydration for manageable dough, gradually increasing as you gain confidence. - Why is scoring important?
Scoring directs the bread’s expansion in the oven and creates beautiful designs. - Can I use whole wheat flour for sourdough?
Yes, but it absorbs more water, so you may need to adjust hydration levels. - Why is cold proofing recommended?
It slows fermentation, enhances flavor, and makes the dough easier to handle. - What’s the ideal temperature for baking sourdough?
450°F (230°C) is optimal for a crispy crust and even baking.
With the right techniques and tools, baking sourdough becomes a rewarding journey. From feeding your starter to slicing the perfect loaf, every step is an opportunity to refine your craft. So, roll up your sleeves, embrace the process, and enjoy the magic of homemade sourdough!